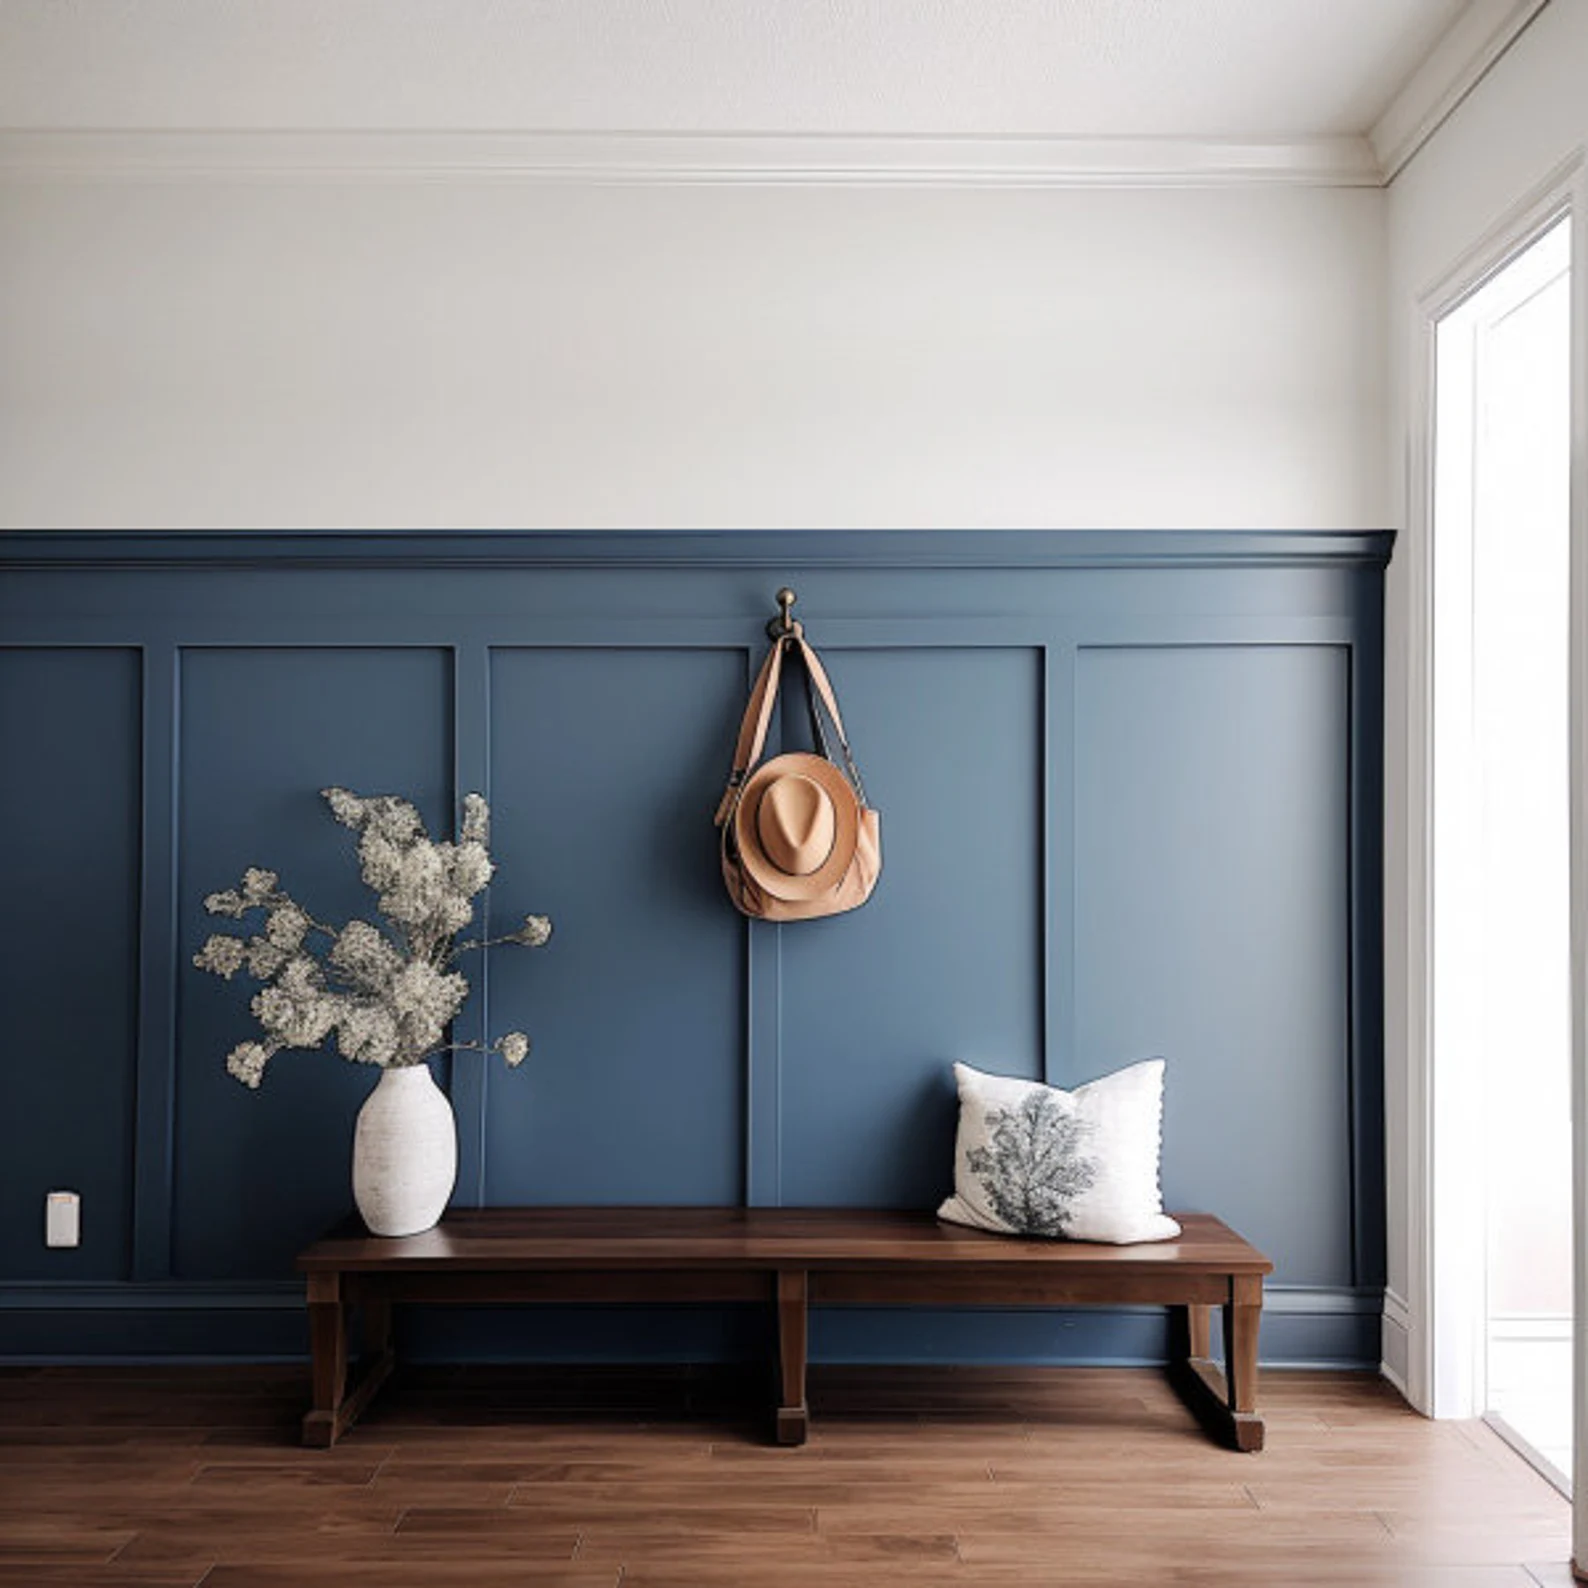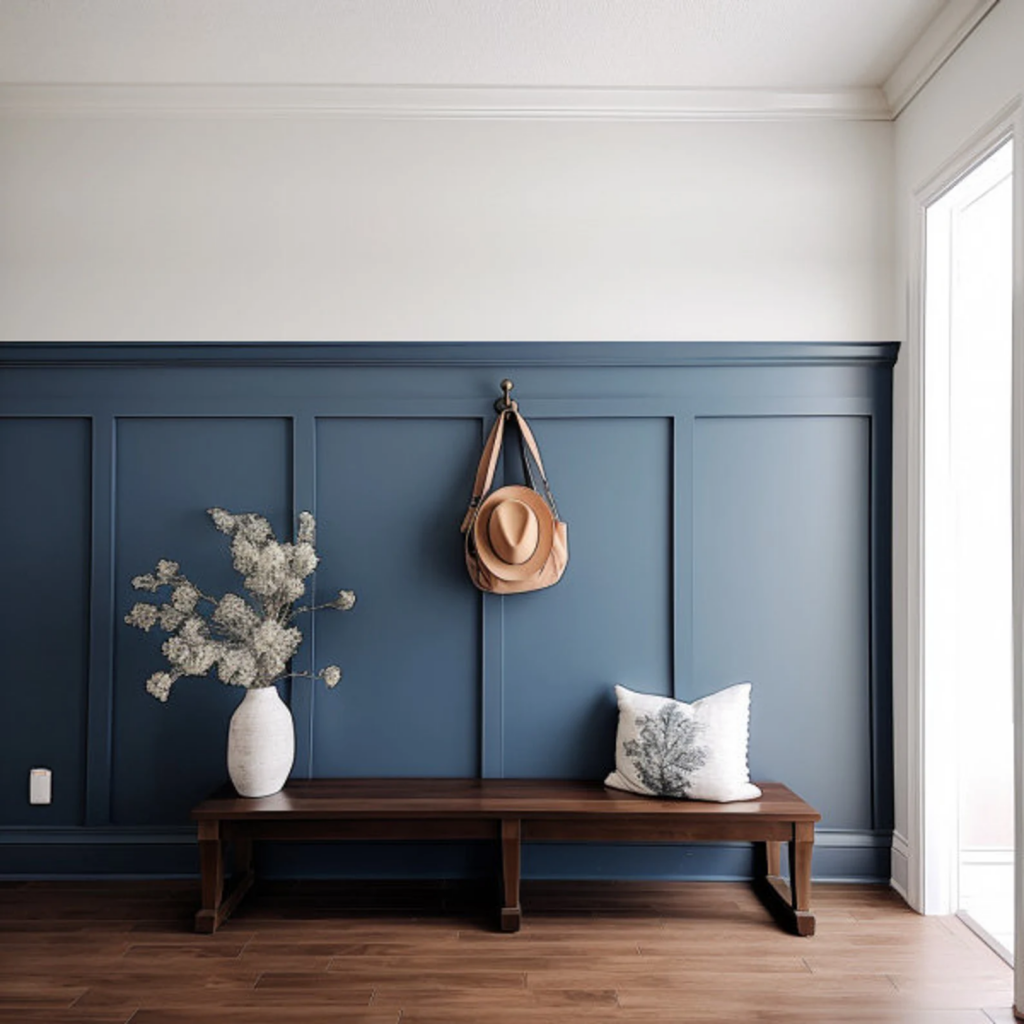
Creating DIY shaker wall paneling can add character and charm to any room. Here are the steps to accomplish this project:
- Gather Materials: You’ll need materials such as plywood or MDF panels, trim molding, wood glue, nails or screws, sandpaper, paint or stain, and any necessary tools like a saw, hammer, nail gun, and measuring tape.
- Measure and Plan: Measure the walls where you want to install the panels and plan the layout. Decide on the size and spacing of the panels according to your preference and the dimensions of the room.
- Cut Panels and Trim: Using a saw, cut the plywood or MDF panels to the desired size for each panel. Also, cut the trim molding to create the frame around each panel.
- Assemble Panels: Apply wood glue to the back of each panel and press them firmly onto the wall. Use nails or screws to secure the panels in place.
- Add Trim: Attach the trim molding around each panel to create the shaker-style frame. Make sure the corners are mitered for a professional look.
- Fill Nail Holes and Sand: Fill any nail holes or gaps with wood filler. Once dry, sand the panels and trim smooth to create a seamless surface.
- Paint or Stain: Apply a coat of primer to the panels and trim, then paint or stain them in the desired color. You may choose a traditional white for a classic look or experiment with bold colors for a more modern aesthetic.
- Final Touches: After the paint or stain has dried completely, inspect the panels for any touch-ups needed. Once satisfied, enjoy your newly transformed space with elegant shaker wall paneling.
Remember to take your time with each step to ensure precision and quality results. With patience and attention to detail, you can achieve stunning shaker-style wall paneling that enhances the aesthetic appeal of your home.
